The world's most advanced Web3 gaming ecosystem. Built on Enjin, powered by Substrate.
%20(1).webp)
.png)
.png)
REWARD RATE
1.2B
NFTS MINTED
3.5M
USERS
1.2M
COMMUNITY MEMBERS
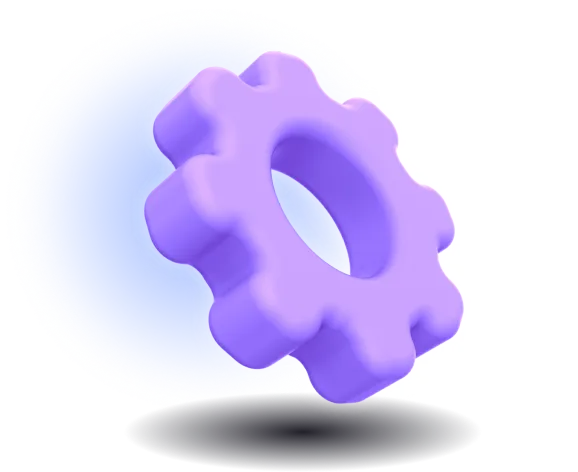
Everything you need to launch user-friendly Web3 games and apps.
%20(1).png)
%20(1).png)
%20(1).png)
%20(1).png)
.webp)

6s
TRANSACTION TIME
$0.0008
AVG. TRANSACTION COST
>2,200
MINTS / TRANSACTION
>5,000
TRANSACTIONS / SECOND
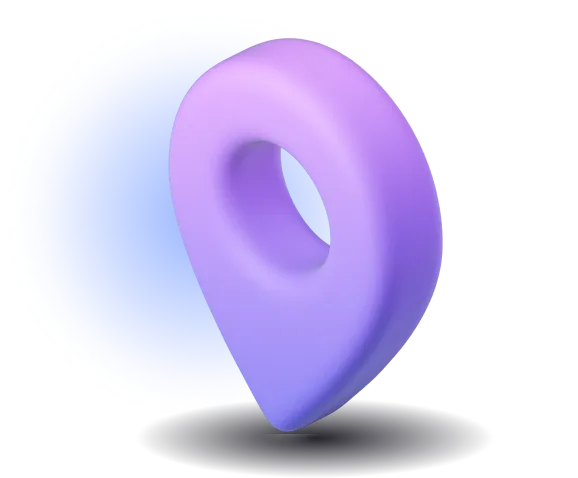
The intuitive marketplace for creators, traders, and developers. Create and trade NFTs in minutes.
.svg)
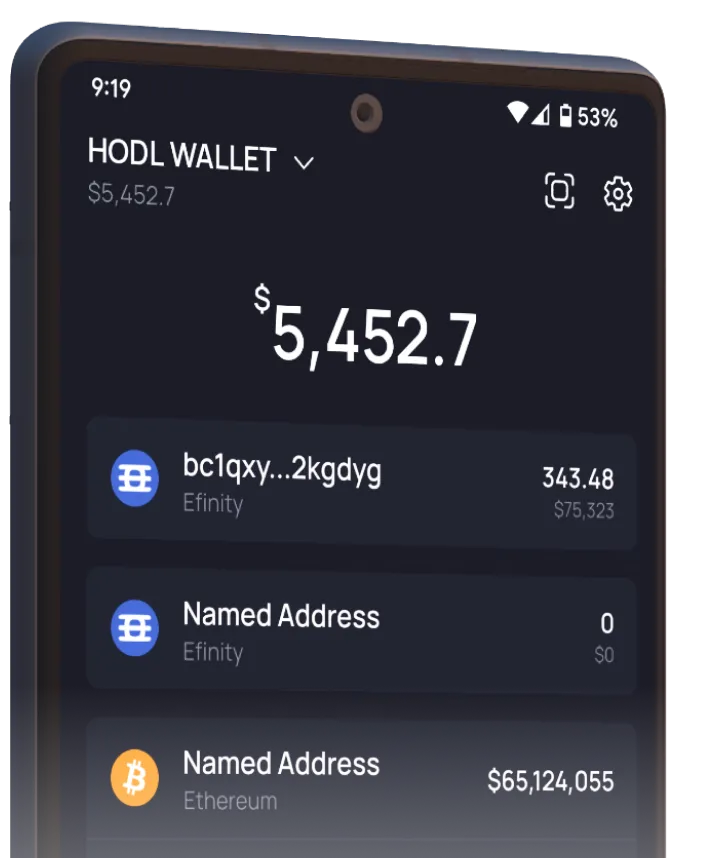
One of the most feature-rich wallets on the market, seamlessly integrated into the Enjin Blockchain, Marketplace, Platform and API.
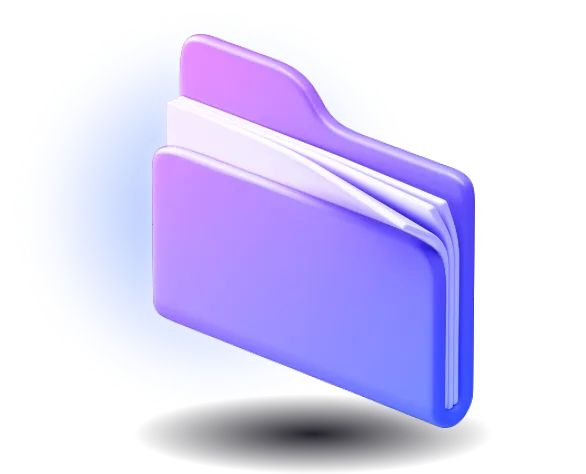
Everything you need to launch user-friendly Web3 games and apps – integrate NFTs into any piece of technology.
A fun way to send NFTs using QR codes. Effortlessly distribute thousands of items with just a few clicks.

The native coin of the Enjin Blockchain. Custom built for easy integration into games and apps.
Learn More.webp)

.webp)
Enjin nodes are elected using a proof-of-stake consensus model.
The network is secured by validators and stakers instead of miners.
.webp)

Join the thousands of Enjineers forging an ecosystem of frictionless Web3 products.


.webp)

.webp)


.png)


.png)


.webp)
.webp)


.webp)

.webp)


.svg)
.svg)

.svg)
.svg)